
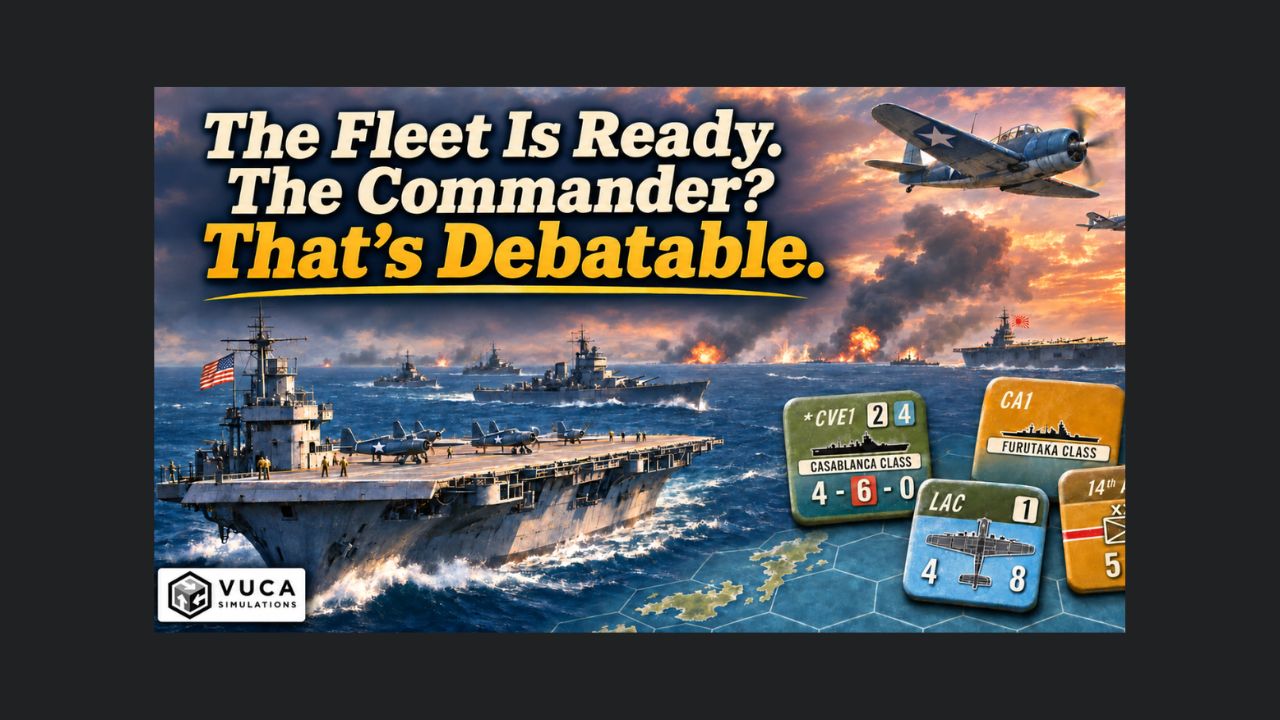

Well folks, I finally cracked open Pacific Fleet: Rise & Fall of the Japanese Empire from VUCA Simulations, and I’ve been itching to get this one on the table. It’s all set up and ready to go. Now comes that small detail of learning how to play before I send the fleet off to an embarrassing end. As I’ve come to expect from VUCA, the components are top notch, making setup a pleasure in its own right. Of course, admiring everything won’t get me through the first turn, so it’s time to open the rulebook and find out just how much trouble I can get myself into.

Let’s start with the counters, because most of us were admiring those long before we opened the rulebook. The counter section does a very good job of explaining what we’re looking at, using enlarged illustrations, lettered callouts, and descriptions of each value and symbol. With this much information packed onto a little piece of cardboard, I appreciate having a guided tour before somebody hands me command of the Pacific.
The counters fall into two categories: units and markers. Naval units carry information covering anti-ship strength, anti-air strength, defense, speed, supply requirements, and ground support, along with identification and setup information. Carriers also track their naval aircraft directly on the counter, which saves us from managing another pile of little airplane counters. Ground units use familiar NATO infantry symbols, unit sizes, and combat strengths, with additional information showing which formations can travel by sea. Air counters represent overall strength and effectiveness rather than a fixed number of aircraft, with long-range capability built into the stronger land-based air units. The markers handle the housekeeping: supply, airfields, amphibious operations, sorties, scheduled returns to port, and keeping track of where we are in the turn.

What I like most is that the rulebook explains what the numbers actually do, rather than simply giving each one a name and wishing us luck. The nationality color guide, front-and-back illustrations, and references to the relevant rules are all useful. There are also some thoughtful clarifications. Aircraft illustrations, for example, have no effect on gameplay, so there’s no need to spend twenty minutes arguing over the bomber pictured on your counter. Save that time for arguing about your opponent’s dice.
Where could this section be better? The naval diagrams are busy, with enough callout lines to resemble the wiring behind my gaming desk. They’re thorough, but a worked example walking through one ship would help those values stick. I’d also welcome a prominent reminder that “Defense Strength” on a ground unit applies when it’s being transported at sea, rather than serving as a separate land-defense rating. That’s an easy assumption for an experienced wargamer to bring to the table.

My first impression is that this is a thorough, well-illustrated counter guide that would benefit from a couple of teaching examples. Whether the counters are equally easy to read once the fleets start moving is something I’ll find out at the table.
That covers what’s printed on the counters. Next, we’ll see what happens when we start putting them to work as we look at the sequence of play. I want to get a feel for how a turn unfolds and how much flipping through the rulebook it takes to keep things moving. The fleet looks good sitting in port, but sooner or later I need to give it an order.
Next Up: Pacific Fleet’s Sequence of Play, or Who Let Me Command a Navy?



Leave a Reply