
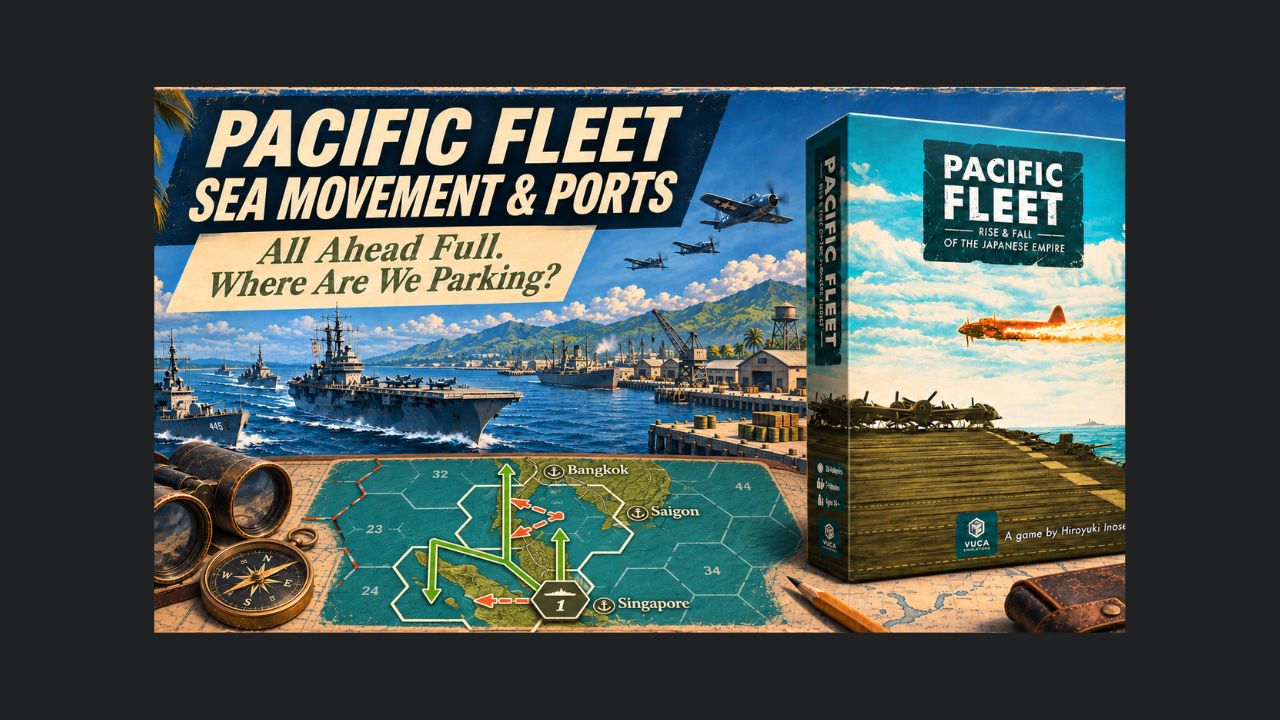
Well folks, we’ve organized our Task Forces. Now Section 6 explains how to get them moving, and where they can go when it’s time to come home. Apparently, pointing toward the enemy and shouting “all ahead full” leaves a few details uncovered. Like whether there’s a suitable port waiting when we’re finished.
I’m still working through the rules, so let’s look at the things I want firmly planted in my head before sending expensive cardboard across the Pacific.

Three Megahexes, Regardless of Speed
Every Task Force can move up to three Megahexes during each Sea Movement step, regardless of its speed level. High Speed doesn’t give you extra regular movement.
Leaving port puts your Task Force into that port’s Megahex without spending movement allowance. Entering the next adjacent Megahex costs the first point. You can move less than three, but unused movement cannot be saved or handed to another Task Force.
CHECK YOUR SPEED ASSUMPTION: High Speed matters for certain return-to-port options. It does not increase the normal three-Megahex allowance.
Geography matters, too. You must trace a connected route through open sea or shallow-water hexes without crossing land hexsides. A big Megahex doesn’t give your battleship permission to cut across a peninsula. Even Yamato needs water.
Aircraft Can Put the Brakes On
Entering a Megahex containing enemy land-based aircraft stops your Task Force for that Sea Movement step. It can leave during the next Sea Movement step.
Japanese Task Forces normally also reveal their approximate composition immediately when interdicted. The special Japanese Hidden Task Force delays that disclosure until Sea Detection.
Enemy Task Forces and ground units don’t stop movement in this same way. Also, simply sortieing into your port’s own Megahex doesn’t trigger this movement restriction.
WATCH THE AIRFIELDS: A route that fits within three Megahexes may still take longer than planned if enemy aircraft force a stop.
For landings or ground support, place the Task Force in the actual objective hex. Being somewhere in the neighborhood won’t do. The troops would probably appreciate being delivered to the correct beach.

Getting Home Takes Planning
Normally, a Task Force returns to a friendly controlled port within its current Megahex during the Return step.
An entirely High Speed naval Task Force can also enter a port in an adjacent Megahex. However, it must already qualify immediately after completing Sea Movement. Losing your slower ships during combat doesn’t suddenly earn the survivors that option.
You also cannot use this special return to move into an adjacent Megahex and remain at sea.
HOME MEANS HOME: The adjacent-Megahex option ends in port. It isn’t a bonus movement step.
A Task Force unable to return when scheduled must evacuate. That sounds like something I’d rather avoid learning through personal experience.
Bringing the Troops Along
Only ground units with both Naval Defense Strength and Speed Level values can move by sea.
They travel in Task Forces, each counting as one naval unit with Low speed. Section 9 provides the fuller transport and amphibious landing rules. For now, I’m checking eligibility before promising anybody a cruise.
A Friendly Port Isn’t Unlimited Parking
Port capacity is measured in Naval Supply Points, using the left-hand number in its blue box. The right-hand number is Naval Supply Level—a different value.
Add the NSP requirements of ships already there and those arriving. Exceed capacity and the excess units must evacuate. An infinity symbol means unlimited capacity.
Ports supplied solely from New Zealand have their capacity halved, rounding up. Captured ports also force the former owner’s ships to check evacuation damage and leave.
CHECK BEFORE ARRIVAL: Friendly control, available capacity, and any Base Force requirement all matter.
Ships returning to port keep their sortie counts. Moving them onto the In Port display doesn’t wipe the slate clean.
Base Forces: The Big Ships Need Support
Allied battleships and carriers—including light and escort carriers—can enter only ports with a Base Force, either printed or marked.
New BF markers are placed during Reinforcements in eligible Allied ports tracing supply to Pearl Harbor. Placement happens alongside other reinforcements, so an eligible arrival can use that newly established base.
Losing the port or its required supply connection can remove the marker. This deserves attention before I build an entire offensive around one convenient harbor.
Next on the Reading List
Section 6 has me checking the destination before plotting the attack. Next comes Section 7: Aircraft & Airfields. Those land-based aircraft have already interrupted my sailing plans. I suppose I should find out what else they can do.

Leave a Reply